Showing posts with label rust. Show all posts

Tuesday, March 9, 2021

MG TF work

 I will let the photos speak for themselves.  On May 6th, 1954, this once complete car proudly rolled off the assembly line at Abingdon.  She ended up in Canada and was enjoyed for a number of years.  The previous owner bought her in the 1970's.  Somewhere along the line he decided to do a restoration, stripping every nut and bolt and moving some of her vital parts to the basement.  

The owner then became older and his health failed.  In the interim, he had become something of a car farmer and forgot about the TF frame he had left out in a field.

Many years later, his children and grandchildren were tasked with clearing the property.  The grandson was given the TF and a random smattering of other parts as payment for services rendered.  Missing was the gearbox, seats and several other items.  It is likely that many of the components were cherry picked over the years for other projects. 

The grandson had some good intentions for the car, however a cross-country move prevented any progress.  Enter my friend and I.  

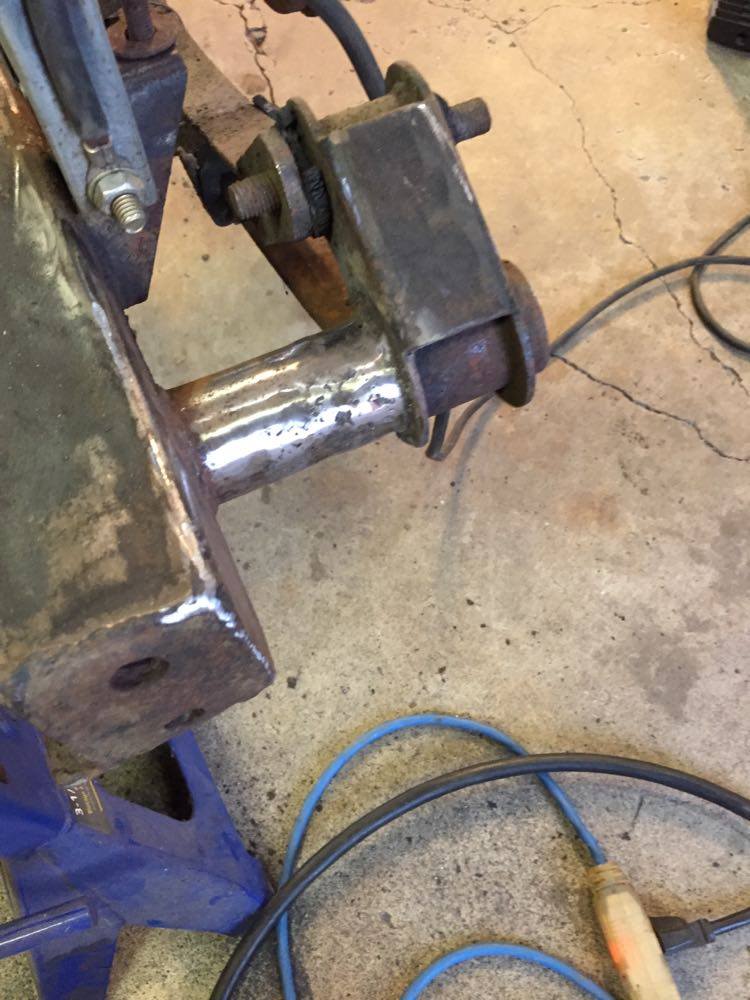
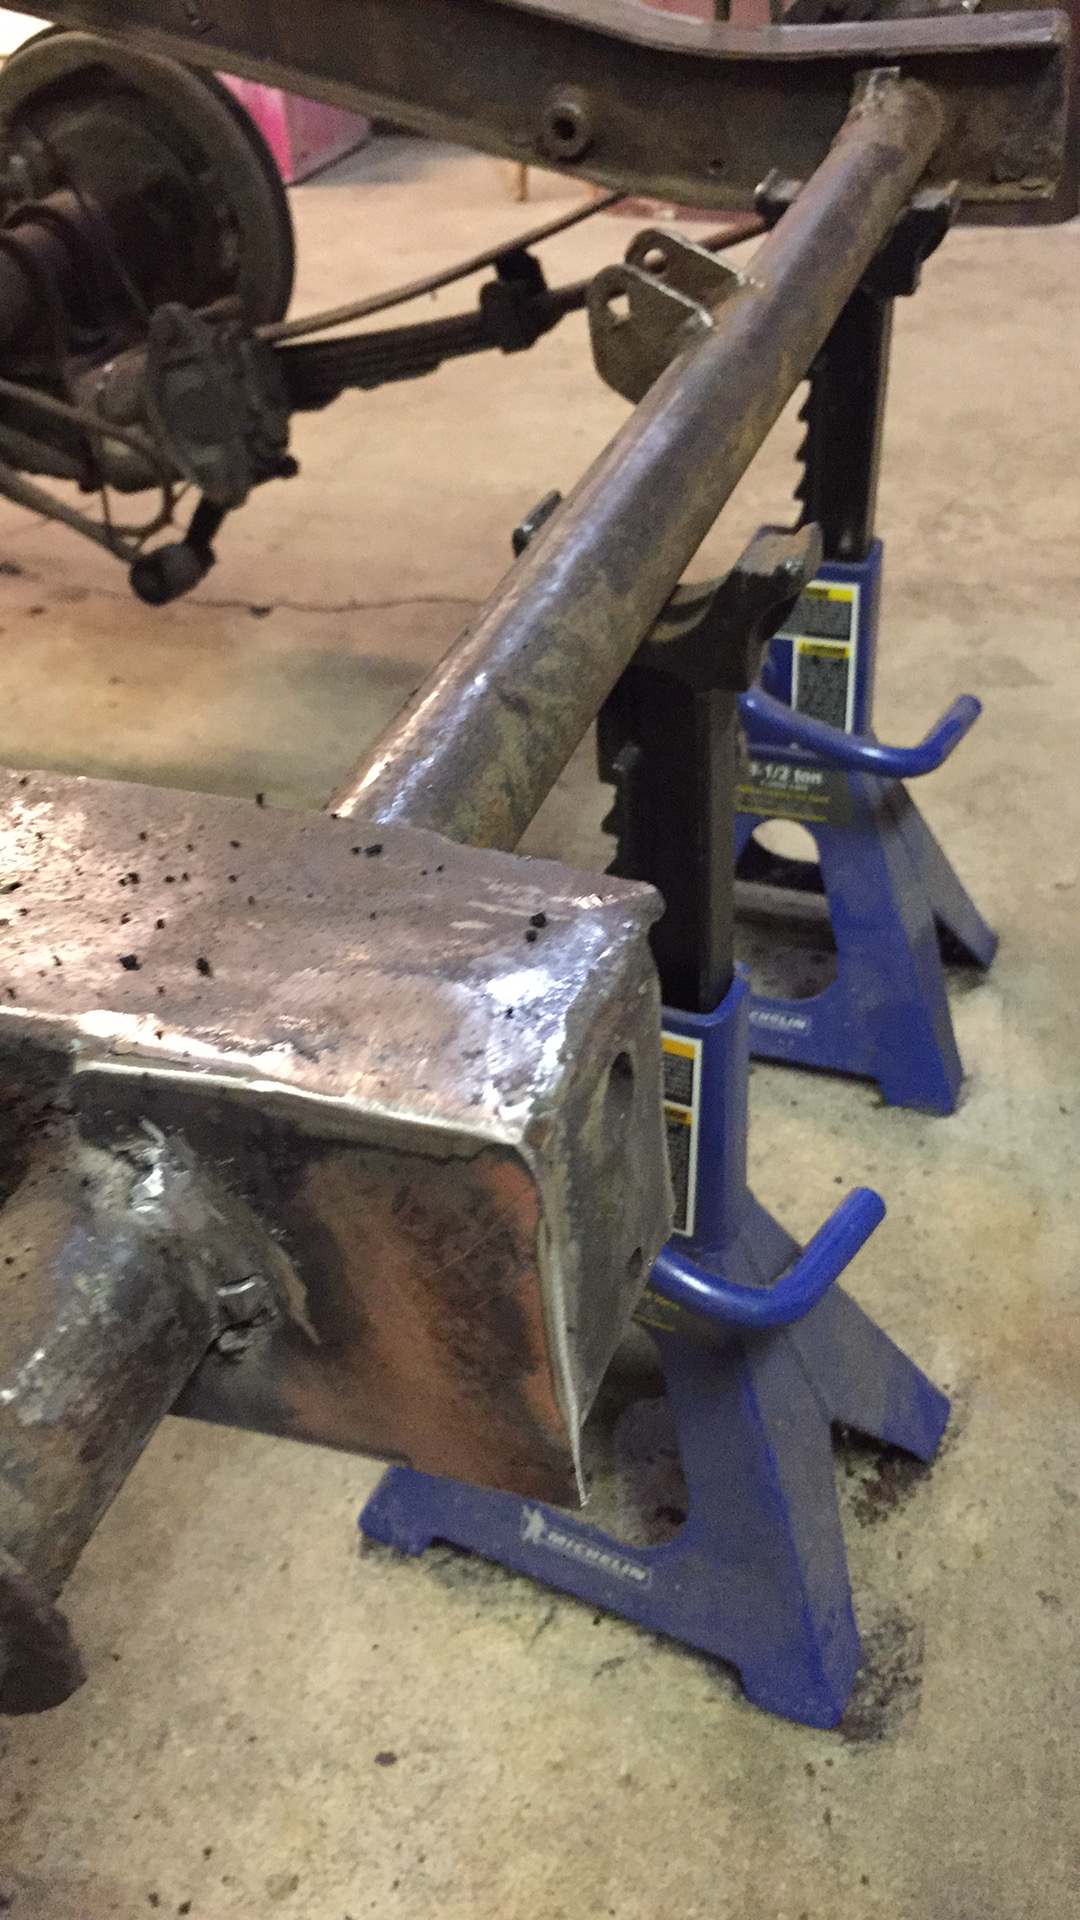
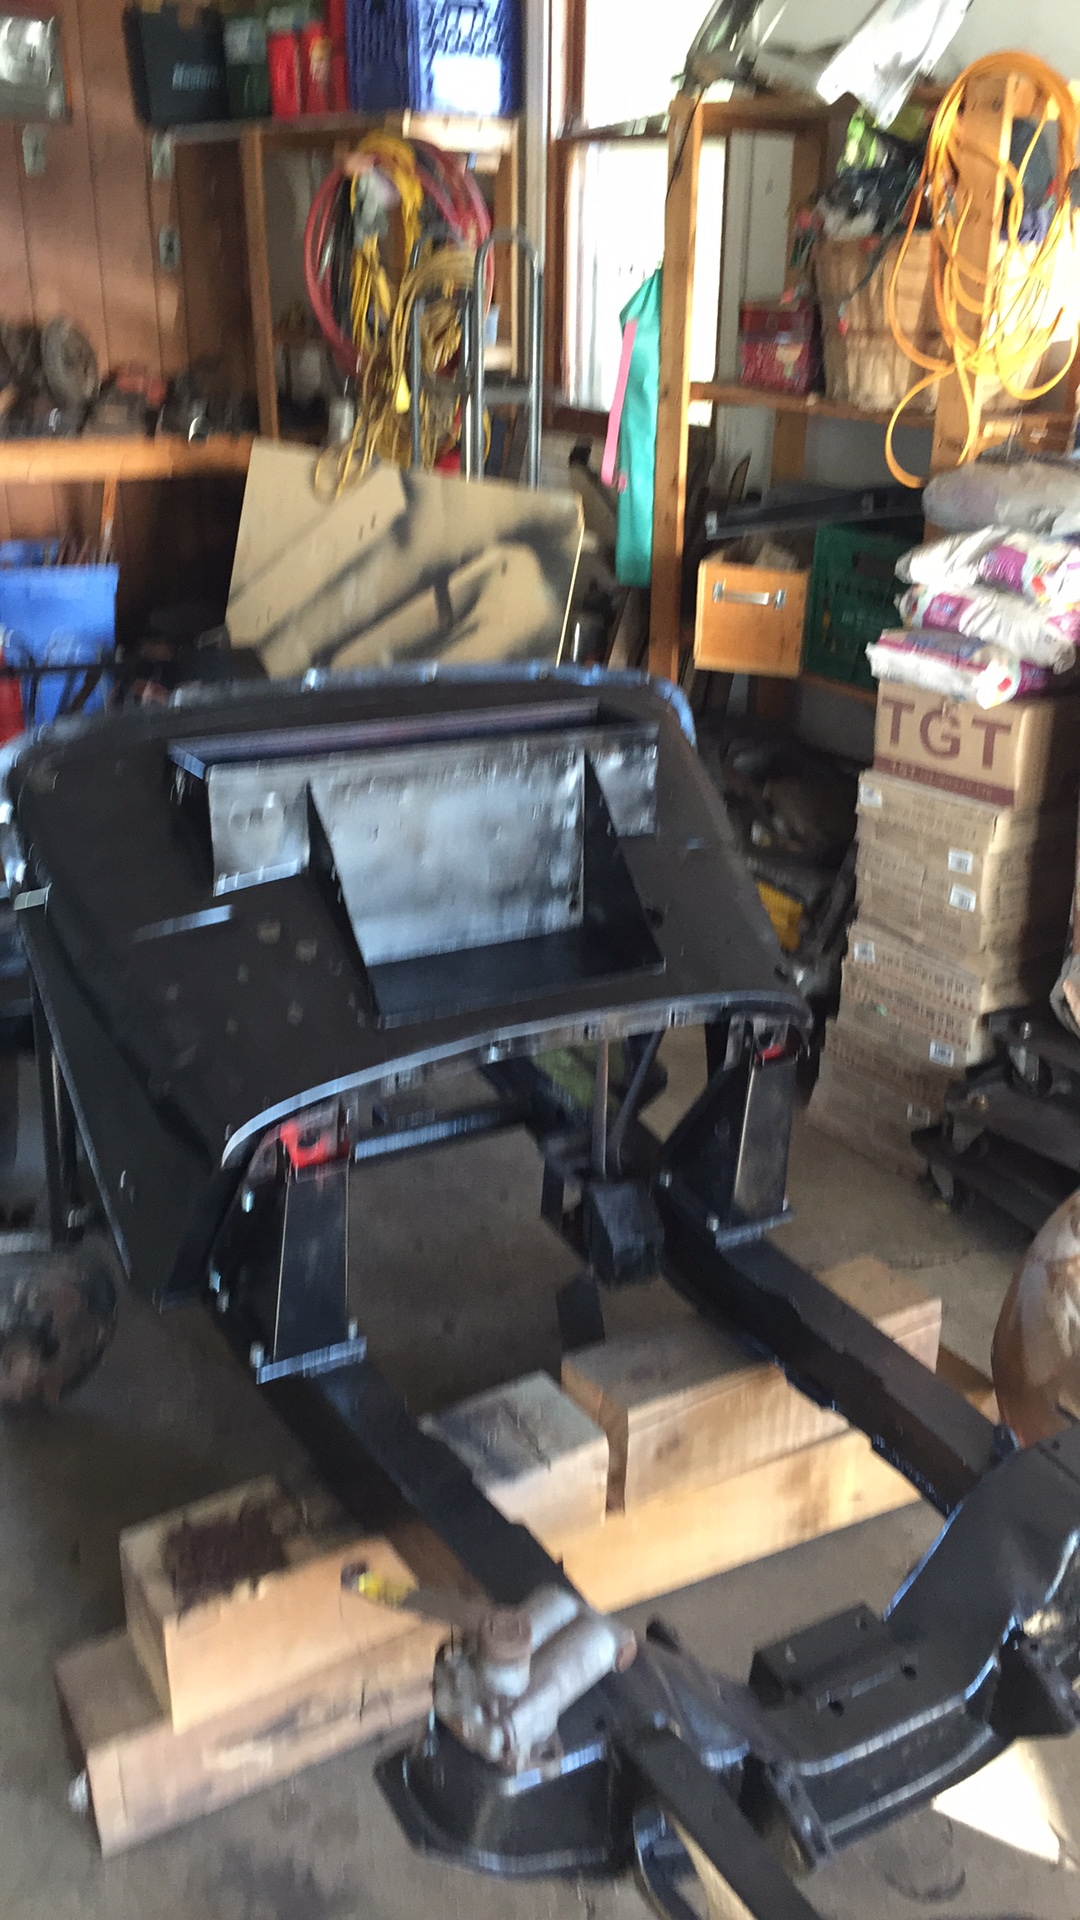
I claim very little credit for the incredible work in these photos.  I was performing less important tasks such as cleaning, stripping and priming parts.  This poor frame had most certainly seen much better days;  To my friend's credit, he put a good 30 or so hours into welding, cutting and fabricating new steel to go in.  Most impressive was the replacement of the rotted section below the transmission cross member.  When we picked the car up,  my hand went right through the bottom!   I happened to have some steel pipe of the correct diameter.  One would be hard pressed to look at it now and realize anything had been replaced.  I am blessed to have such good friends.


Until Next time! 


Wednesday, May 16, 2018

Product Review: Eastwood company abrasive buffing wheel


After watching Craig Jones (of On Yer Bike fame) use a giant scotchbrite wheel to clean up fork tubes, I knew it was essential kit for my garage.

I looked high and low and found very few options outside of Britain and those I did find were pricey.

While not the exact same item, Eastwood fortunately offers a tool that does the same job.

Eastwood Abrasive Wheel

At only $19.99 (USD) I took a chance and had it shipped to my US Address.  Initially I was disappointed to find the center hole was too big for my 6" Ryobi bench grinder.  I was also a bit surprised that it didn't come with any mounting hardware.   Not to be defeated, I bought some cut off pipe from a local supplier (Metal Supermarket) and made a sleeve/adapter with the help of some old washers (Never throw them away!).


Some shots of the wheel, with makeshift adapter


The wheel itself is quite wide, probably about 14" across, comprised of four separate pads held together at the center.  The individual pads have waves in them, presumably to keep them working together whilst spinning.  You will notice (as I did) that they act as a propeller to send your grinder into flight!   Bolting your device or at least securing it down is probably a very good idea.

I haven't used this wheel for long or for very much.  However from what I have seen, it is incredibly impressive!

I pulled a crusty old Triumph center pipe from the shelf and had at it.  Within a single stroke, it was better than new.

Some of these shots aren't the best but the results speak for themselves.


Do I recommend this product?  Absolutely.  This will eliminate hours of elbow grease for a very low price.  As a matter of fact, I am excited to use it again to banish the ravages of time!


Until next time...

Monday, September 11, 2017

Get the lead in!

My poor old Beetle had definitely seen better days before it found me in 2014.  One of the most awkward spots to tackle was the rust right below the windshield.   Fortunately for me that area was solid but badly pitted with a few holes here and there (small ones).

I knew that putting body filler over top was a poor idea as rust could reform and bubble up under the paint.  I thought of fiberglass, however that was also messy and problematic.  I decided the best approach was to go back in time to the days of lead solder filling.   There is an excellent supplier in the US, TP Tools.

http://www.tptools.com/

I had all the items shipped to my US address and they arrived within 2 business days.  I purchased lead body solder, tinning butter and a copper brush for application.

I have been sitting on this stuff for a couple months and decided to dive in yesterday afternoon.

Here are the shots of the process.

Here we have some small holes and pitting

initial filling of the holes 
I added some more material and smoothed it out.

Overall I am pretty pleased, especially for a first attempt.  I will need to use a thin layer of filler to smooth things out, however it is being applied to metal coated in high build primer.

I hope to have the rest done before class starts on Saturday morning!


Wednesday, August 23, 2017

To Ragtop or not to Ragtop, that is the question!

At least that is the question on my mind today.

Yes,  I am finally getting back to the poor old Volkswagen project.  This August marks the 10th year anniversary of my sister's passing and I want to get her tribute back on track.

Over the next two days I am doing a list of all the jobs required to get this car running and back on the road.

One of the items I have been seriously considering is the addition of a sunroof kit.  It would be a shame to decide to do this after body work and paint were applied.  This is supposed to be a fun vehicle for weekend or the odd drive to work, probably seeing the most use in the spring/summer/fall.

Many VW enthusiasts source an original Golde sunroof with the surrounding metal from a donor car. While I am enthusiastic about this car, I can hardly say it is original anymore so that might be a touch extreme.

There are a few kits available and this one currently has my attention.

Ragtop Kit

At $720 U.S. (including shipping) the kit is just works out to $1000.00 Canadian.

If you haven't seen it already,  Max Wilson has a wonderful Youtube video of his father's Beetle restoration.  In the video, he installs a kit (making it look much easier than it probably is).

The video can be found here and is worth every minute of viewing time.

https://www.youtube.com/watch?v=WNv0fI-qzP8

I hope to have a decision made within the month.


I think this looks pretty sharp!


Monday, August 14, 2017

Matchless G9 Engine strip down...

At long last!  Now that some family commitments have been attended to, I am able to get back on track with my many (read: many, many, many) projects.  I have been waiting a year and a half to tear into the bottom end of the G9 engine;  This should keep me busy until my friend can finish welding up the Beetle.

The Verdict?  So far things look very good!  The con rods are very clean and straight, with no nicks or scratches.  The crank bearings are very good as well and can likely be reused.  I was pleased that the oil pump turns freely and the bottom end was coated in a film of oil.  The engine was certainly rebuilt at some point as the 'sludge trap'  bolt has been removed and replaced several times.

 Matchless Twins lack a true Sludge trap, instead having passages that can be easily cleaned out periodically.  Despite having +80 over sized pistons, this engine was very carefully looked after.   A shame really that the rest of the bike didn't receive the same treatment and survive in the same fashion.  I am sure that some of it is in that big pile of parts, as for which ones?  That is a secret lost to time.

More to come!


Any time spent with King Dick is quality time.

As a side note, 'Krave' is probably not fit for human consumption.  I, However have no issue using the box to catch decades old oil drops.


Wednesday, July 5, 2017

Scrambler bash plate modification

If you have a skid plate/Bash plate on your Scrambler as I do, it would have come equipped with 4 allen bolts to hold it in place.  Allen bolts are nice and handy and feature prominently on modern Triumphs.  They are usually easy to deal with and require a tiny tool you can carry in your pocket (or side cover).

However when an allen head gets stripped it is a tremendous pain to deal with, especially if said bolt is in an awkward spot.

This happened to me recently when an underside bolt securing the plate to the frame became stripped and seized.  I was able to get the other three off and removed the plate by unhooking (slightly bending) the mount from the rail.

It seemed a good idea to come up with something more practical while making the plate more quickly detachable.


I had these leftover from my shift lever repair, so I cut them to size and installed them.  Now if something does seize up, at least I can apply an impact driver.


Looks very nice from the front!

Saturday, July 1, 2017

Garage art

I spotted this gem whilst travelling through small town Ontario. I wonder if it was ever ridden?

Wednesday, January 11, 2017

Put a Tiger On The Tank!


Happy New year!

I thought I would post a quick update and product review;   I have spent the last couple months working on the Matchless G9,  mostly gathering parts and getting a tonne of stuff powder coated.

Powder coating has become my preferred method of cleaning up old parts,  especially the black stuff. (I will get some snaps of all the lovely and shining bits in a future post) Now that the shop I use does sandblasting as well, it saves me a lot of time.  It is affordable, durable and looks very sharp.  This works very well when the surface of the item is in good shape,  but what do you when there are dents or damage?


Here are the Matchless tanks, (oil and gas) both with some damage/pitting.  I was certain that I would have use a stud welder to pull the dents and hope for the best.  I really didn't want to get these items painted or bondo and paint them myself.  The side cover and tool box are good and solid but badly pitted from years of neglect.  A decent set would have been around the $400.00 mark so I needed an easy solution!


Fortunately for me,  the powder coat shop had just the thing for me;  Tiger Epo Strong epoxy.  The fellow I deal with had purchased some to do a gas tank, had some left over and sold it to me at a discount.  This is similar to bondo, mixing the epoxy and hardener in a 2:1 ratio.  Unlike Bondo, you have time to work and shape it as it takes 24 hours to cure at room temperature.  Application is done in 5mm layers and then you can sand and shape as you would any other variety of filler.  Once satisfied, the item cures in the oven at 400F and can then be coated.


Here is what the product looks like, mine came complete with instructions in German!


The epoxy goes on quite smoothly and fills in dents easily.


So far so good,  I am slowly working with the stuff and am happy with the results;  The final test will of course be the final coating.   I hope to have that done in the next month or so.