Recently, the opportunity arose to do some volunteer work for the CVMG at the Toronto motorcycle show. This seemed like a good time to step out of the garage and contribute something back to the group.
I confess that over my varying years of membership, I have been relatively silent. I have gone to various events, even setting up a stall at last years (sub zero) spring swap meet.
The fellows in my local chapter are very welcoming and free with their knowledge; I feel a touch guilty when I miss the monthly breakfast meetings, especially as they are held so close to home.
Put simply, there are times that I don't feel like socializing. I spend my workdays talking to people providing various levels of support on a broad variety of issues. On the evenings and weekends my human contact quota has often been maxed.
This is something I am working to change this year, I believe that without fresh blood our beloved hobby will most certainly die. It felt rather good to go out and meet with the public, answer questions and drum up some interest in the organization and old machinery in general.
I was rather blessed to meet some great chaps from other chapters and share booth space with a 1917 Indian, 1928 Scott Flying Squirrel and a 1968 Triumph Bonneville.
We had a variety of other magnificent machines on display as well; My heart melted at the site of the 1958 T100. We had a lovely, original BSA 441 Victor (one of my favourite bikes, complete with OEM Oil drip pan!) and several vintage Japanese machines. This year's theme for the Paris Rally is the Yamaha XS650.
While I did take photos, I didn't visit every stand as some were incredibly busy. Very difficult to get a decent shot with people climbing on and off all of the bikes! I took pictures of things that caught my eye or interested me in some way. Hopefully they are of interest to you as well.
If I was in the market for a new bike, there were a few I would have seriously considered. Namely the 2020 Bonneville (in red), The Kawasaki W800 (also in red) and the chrome tanked Royal Enfield Interceptor and Bullet models. The former was very hard to walk away from, especially for the price.
If we spoke on Saturday, it was a pleasure and I hope to see you at the Paris Rally in June!
Until next time....
Stunning.
This Scott was the talk of the stand; Lots of interest in this lovely old machine.
The funky Piaggio 4 wheeler.
Lovely Moto Guzzi Cafe V7
The lowly Yamaha Bolt
The CanAm Spyder
This looked like a mini Batman Tumbler...
This Yamaha certainly has a mid 1980's feel.
A BMW Scooter!
This one threw me, I thought it was a vintage Katana.
This Sportster looked better in person; I felt badly, when I walked by there were people laughing at it.
This little Bullet looks like a lot of fun, with equal amounts of style.
The picture doesn't do this one justice. The Chrome tank model is an absolute beauty.
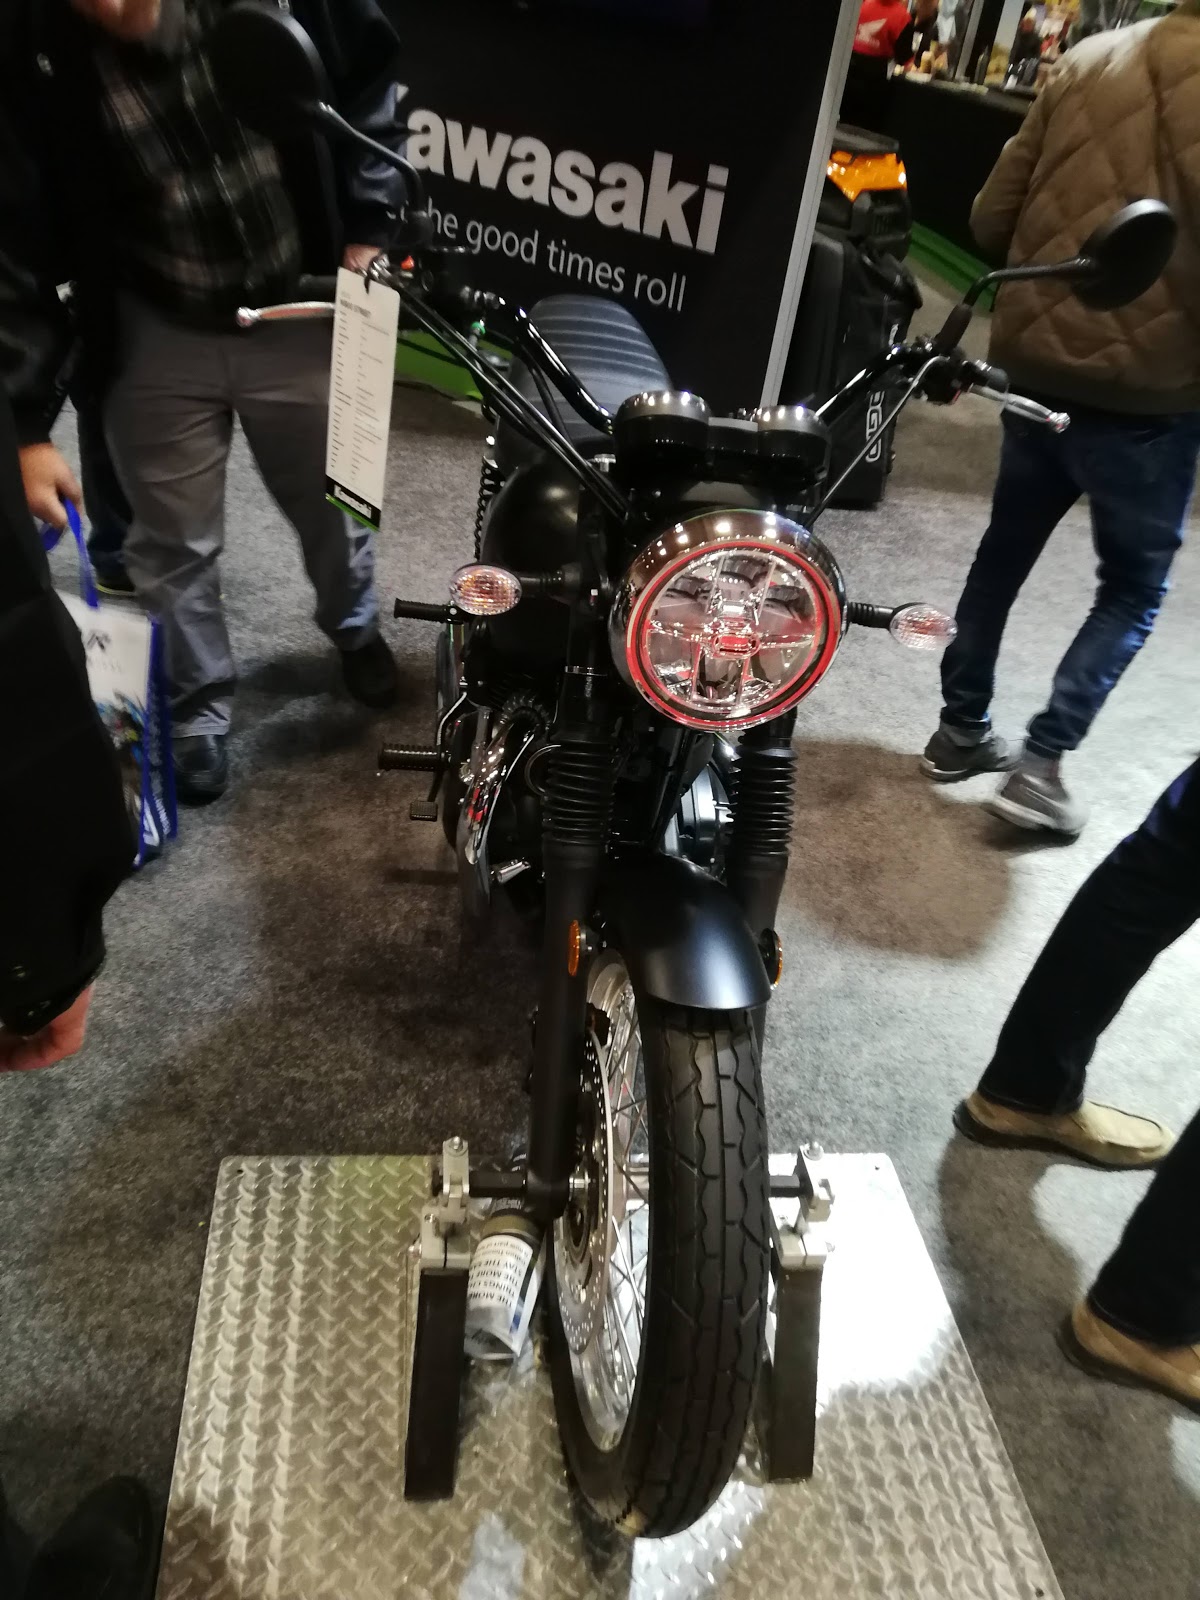
Head to toe in Matte black, this one is ready for business!
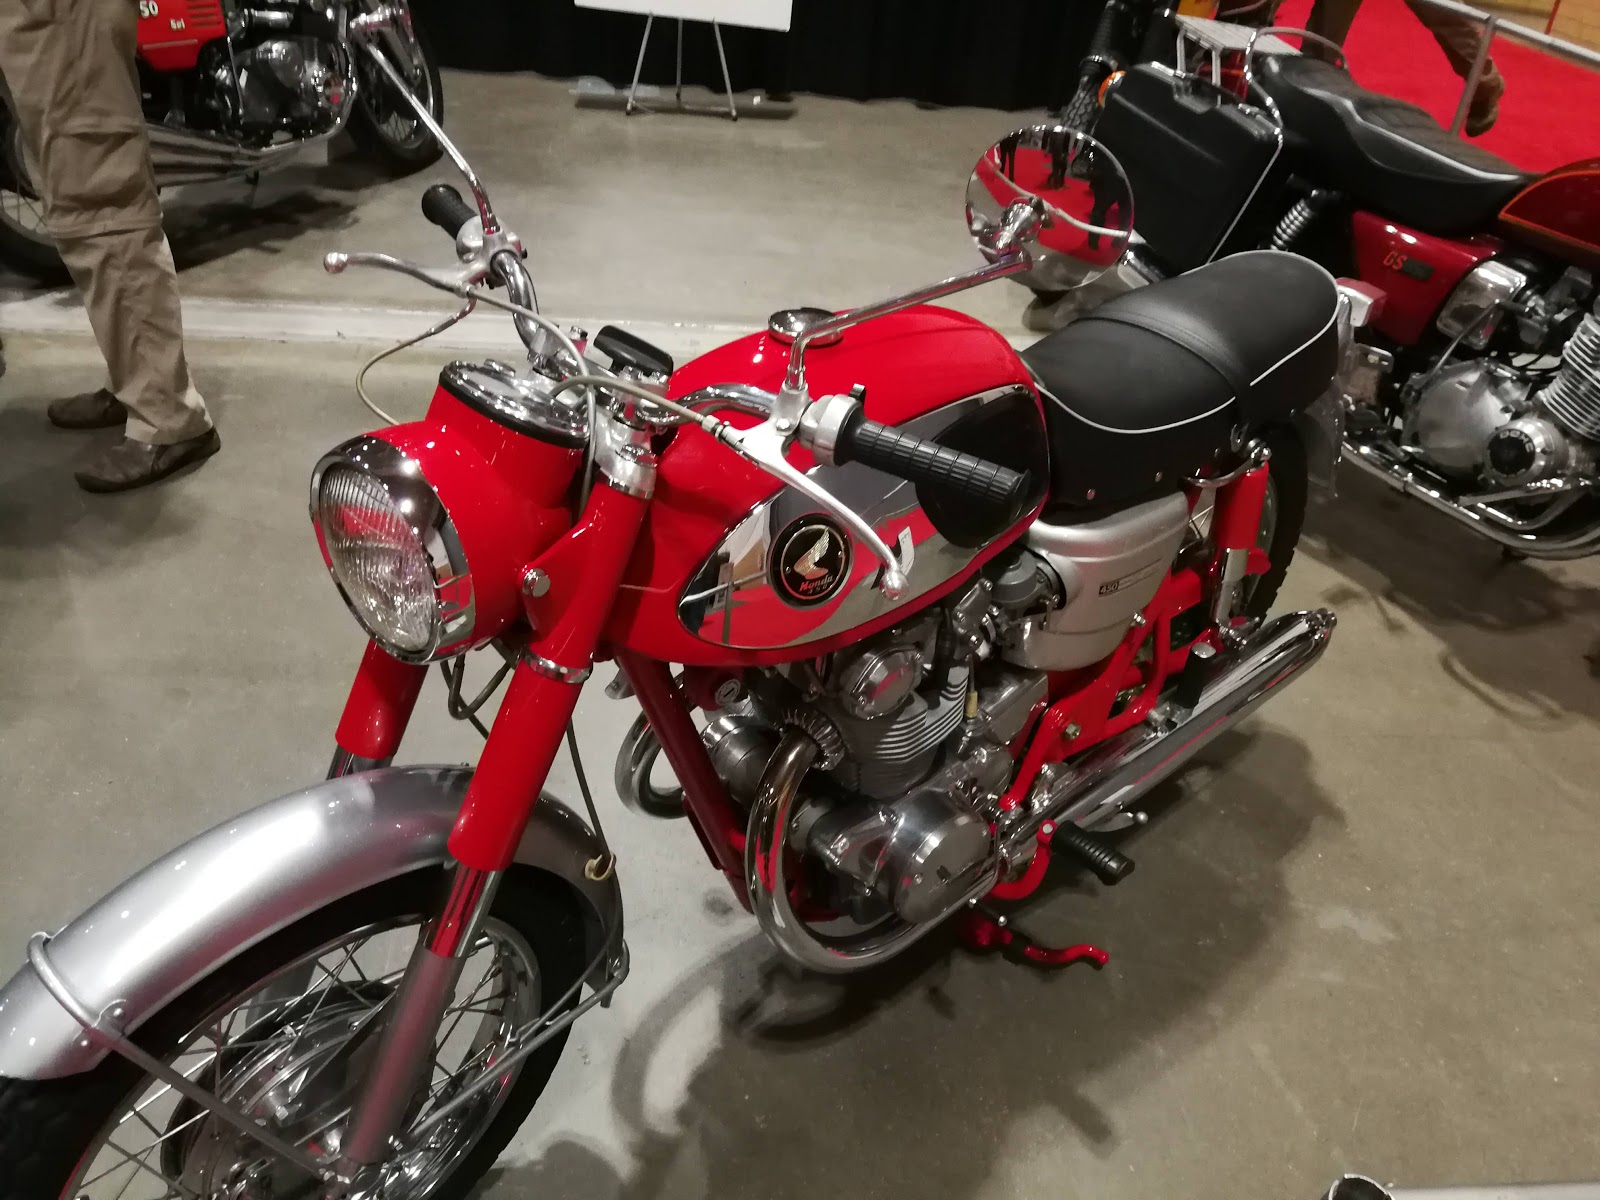
This Honda CB450 from our stand looked better than new.
A good, honest original machine.
A very interesting historic speedway bike
The massive Indian Chief had loads of character.
Rather plain compared to the chrome tanked model.
The XS650 feature bike. Very rare in this condition, most have been chopped/bobbed!
My companion for the afternoon.
Be still my heart!
Another angle of the Scott.
The Aprilla race bike drew many admiring looks.
The limited edition Vespa 'Crayon box' Model!
One of several customs...
The very modern looking Indian Scout. I spoke to several owners who rave about them.
Lovely, but too modern for my tastes.
This one would look quite mean on the street.
The red Bonneville was the best looking of the lot
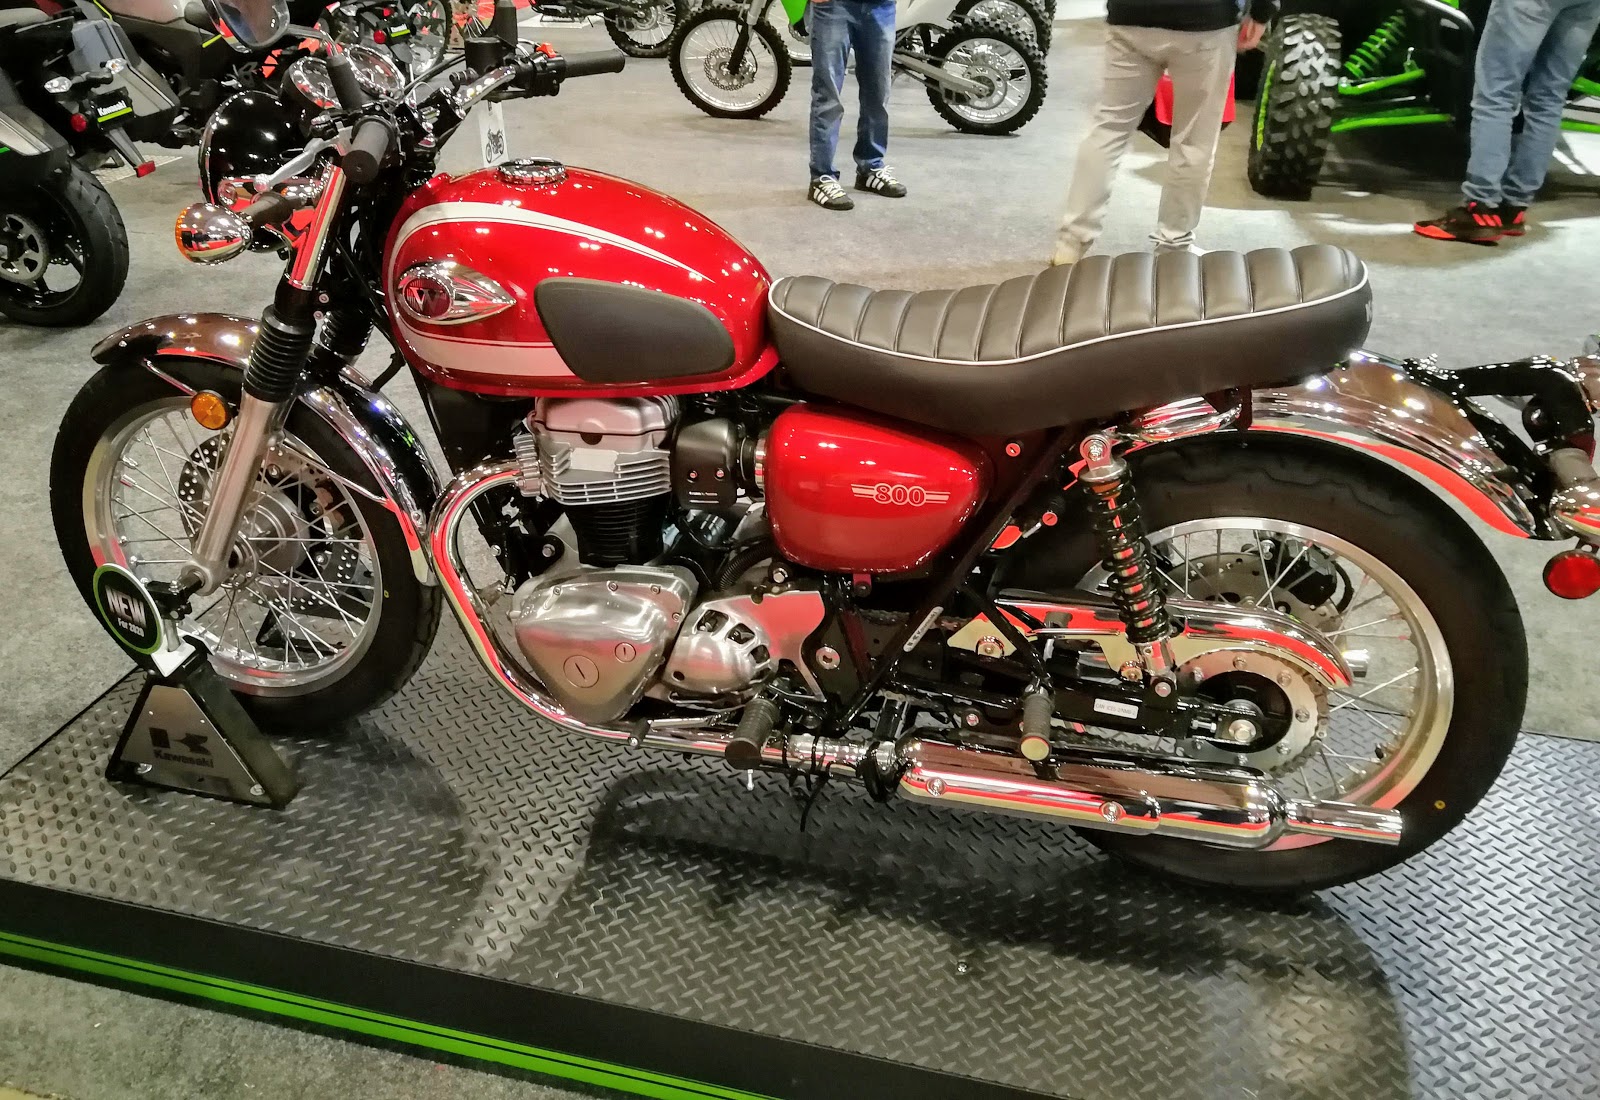
This gorgeous W800 is a serious contender in the retro-classic arena.
The world can seem increasingly small sometimes, especially when something once thought lost returns to us.
At lunch time, I rarely stay at the office; I walk, regardless of the season. I work in an older neighborhood that is on the wrong side of an actual set of tracks. That being said, there are many interesting century homes and industrial buildings to see.
Once in a while I even get to spot an interesting vehicle (see my CZ post from a couple years ago) though not too often.
While walking today however, something caught my eye. It was the face of an old friend, a late 60's MG Midget, the first car I ever drove.
The closer I got to the car, the more it looked like myMidget.
Could this be the very same beast I fell in love with 28 years ago?
It was rather like spotting an extraordinary former flame in the most mundane of places; With time, one is never quite sure yet a familiar magic remains in those eyes....
I remember the BMC logo on the seat belts, the mostly black body work with spots of primer. I can recall the chrome and polished alloy accouterments under the bonnet.
I will never forget the sound she made, nor the feeling she gave me.
In some regards, restoring a bike back to spec is easy. By easy, I mean having definite guidelines and photographic references to follow. Hard work? Absolutely. Once you have all the right parts however, it can be similar to building a life sized Airfix kit.
Building a custom bike or something from random parts can be much more challenging; Often the smallest victories yield the greatest rewards.
My latest victory was in the form of a tail light. As trivial as it may sound, I could not find the right tail light/brake light for this build. This had actually been driving me to distraction for the better part of two years.
I played around with a variety of different styles, finally settling on an original English made Sparto piece that I fabricated a lens for.
Close, but not quite.
It looked good and was very, very close to being right. It just wan't right enough.
Back to the drawing board.
My criteria was fairly straightforward. I wanted something that looked period, flowed with the bike and was functional. I also wanted something unique and lighter than the Sparto unit. To make life harder, I didn't want a repop item from China or India. There is a cheapness to these items that always seems to let the side down.
Cruising around on Ebay, I spotted something a little bit different. It was an NOS Lucas light I had never seen before, a model VT31. There wasn't much online about it, just that it was used on bicycles and mopeds primarily. The asking price was low, so I took a chance.
Rather than fabricate a backing plate, I decided to modify something I already had.
The plate is most certainly a DIY item, I have no idea what the off-set drilled holes were for.
The first step was to weld some plate on the back to cover the holes. I then welded some steel washers into the holes and removed the plate on the back. Next, I lined up the light in order to drill the mounting holes.
Then a little filler and a bit of paint.
Front
Side view
I am really happy with the way that this turned out. It certainly checks all the boxes for me with the added bonus of having lots of character. Although hard to see in the photos, the light is actually adjustable so I can fine tune when the rear mudguard is in place.
Now that I am firmly determined to complete the Matchless twin by spring, the time has come to put together the engine.
While I did a dry fitting last year, I didn't thoroughly measure the crankshaft journals, camshaft lobes or check for 'Ovaling' in the connecting rods. The motor seemed to be in decent shape when I tore it down; I naively hoped that after a good cleaning and check of the oil passageways it would go right back together and run!
I decided to forgo this flight of fantasy and do the job properly.
I started by looking at the connecting rods I had and weighed them in order to find a balanced pair.
The pair that came with the engine weighed in at exactly 12.84 oz each. Numbers 2 and 3 weighed in at 14.53 and 14.29 oz respectively. Lonely number 5 on the end came in at a whopping 15.03 oz.
Interestingly, all Matchless/AJS twin con rods from 1949 to 1964 have the same part number, 014134. In the course of my research, I found a valuable snippet from the Jampot forum which explains the differences.
Early Rods for '49-'51 had a thin 'H' stem section and less material around the small end Series 2 from '51- Had a thicker 'H' stem section however material around the small end is unchanged. Series 3 featured more metal around the small end. Series 4 featured even more metal around the small end. Series 5 featured the addition of the chamfered shoulders. These changes would reflect the heavier load on the rods as capacity increased from 500cc to 550cc to 600cc and finally 650cc.
Looking at the lightest pair, I would assume they are Series 2 as the 'H' section seems the same as the heavier units.
The stock G9 Crankshaft Journals are 1.625" stock, mine come in at 1.615 according to my micrometer. This means .010 oversize bearings, fortunately I have a NOS set.
As I went to fit the series 2 connecting rods, I found that one side would move freely and the other would bind. I attempted to flip the orientation of the rods to see if that made a difference, however there was no joy. I then fitted the heavier rods and all moved well without issue, however the bearings didn't sit very tightly in the conrods. The orientation of the later rods is easy to determine due to a chamfer on the shoulder of the rod which needs to face away from the center of the crank.
I did look on the shelf and pulled out a later crank which fit nicely into a nice set of '54 AJS cases
I had bought a couple of years ago. These journals also measure at 1.615" however one side has suffered from exposure and is now rusty.
The earlier crankshaft
Later Crankshaft. Note the corrosion on right journal side. It looked much worse before a bit of WD40 and scotchbrite.
All hope is not lost though as I found a great YouTube video demonstrating cheap, easy and effective crank polishing. My next job is to measure the connecting rods properly, save the crankshaft and see what can be put together.
I confess that I didn't get a lot done over the Christmas break, however I did manage to accomplish several small jobs.
One of these items was the construction of a battery box for the G9 project. The 1955 frame is a unique one in a few different regards, one being the off-set side mounted battery placement.
Rather than look for an original, I decided to make my own with some scrap lying around. The box is a little oversize in order to accommodate (small) tools and mountings for my exhaust (more on that next post). This will also give me more leeway when I eventually buy another battery.
It is always a pleasure to make my own parts, no matter how primitive they may be. This is the freedom that comes with building a (mild) custom bike rather than a concours restoration.
I wasn't able to take pictures during the welding/cutting/grinding phase, but you get the idea.
The box has since been coated in black chassis paint, the strap came from a discarded Bell & Howell Filmo camera.
As mentioned in my previous post, my mixed-bag '58 suffers from something of an identity crisis.
A 350cc with a 500cc barrel and piston and a half-finished magneto conversion.
After much dithering and back and forth, I ultimately decided to return the bike to stock ignition.
This decision was made due to not having the correct timing covers (mine are AJS branded) and not having the correct magneto. I do have a Fairbanks Morse FM that gives off spark, however it will need some work to adapt. Further to this, the FM lacks an advance and retard control.
Finding the correct magneto in decent shape is also a challenge. They usually range anywhere from $100-300 (and up) and buying one is a something of a gamble. These units are fifty to seventy years old at this point and inevitably worn out. A rebuild means several hundred more; Money well spent for certain, but certainly money I don't have to spare at the moment. Points and condensers are cheap and plentiful. I have several NOS Lucas sets sitting in my parts bin ready for use.
I managed to find the correct inlet cam and timing covers on Ebay; The wiring harness came from feked.com.
As an aside, this will be my last order with Feked; The company and products are fine, however shipping is horrendous and I am always hit with exorbitant customs fees.
The missing piece is the Auto Advance unit and plate, known as unit CA1A in the Lucas catalog.
I figured that being a Lucas unit, it would be easily attainable and very likely used on many different makes/models. I was incorrect!
If you do a google search or eBay search, almost nothing will come up. Even the individual components yield no result. I was able to find out that the CA1A was used on three separate bikes; The BSA C12, Royal Enfield Clipper and the Matchless/AJS single(s).
I spent countless hours scouring articles and forums, looking for answers or substitute units that could be utilized. Nothing.
Fortunately for me, I found a photo reference on Hitchcock's website. They are the leading provider of all things RE in the world. I received a prompt reply stating that there are no substitute units that can be used, however they would search for a used set for me.
Considering that the coil ignition singles were on the market for eight years, it's a little surprising there aren't more of these about. I can only hope that means that many of these bikes live on and are seldom broken up for parts. That would be a ray of sunshine reaching through a cloud of unobtanium.