Wednesday, February 24, 2021
Where did he go? (updates!)
Tuesday, August 18, 2020
Wrong gas tank! Waterslide Decal tutorial....
A word to the wise when buying a used (or new) tank for a BSA B31 rigid; Make sure you get the measurements under the tank as well as on top.
I learned the hard way, purchasing a tank advertised as being for a B31, however it turned out to be for a C11. This is a common mistake apparently, as both are nearly identical from the top and side. Both tanks feature a speedo mount within with the same badges and knee pads. Underneath however is a totally different story.
The tunnel for the the C11 is under 2" (I believe 1 3/4") the B31 should be closer to 3 3/4". This is to accommodate the taller and larger motor.
A new tank from India has been ordered, one in bare steel as chrome work from there seems to be a mixed bag. My intention is to paint anyway and starting with a fresh tank will provide some peace of mind. With the way the post is moving these days, it will likely arrive by Halloween. I just hope that the specs on the sheet match what is actually delivered.
I decided to have some fun with the 'wrong' tank by painting it and making my own waterslide decals.
Inkjet waterslide decal sheets are available on Ebay and other online sources for very little money. I go online to find images I like and put them in MS paint for editing (This is as sophisticated as it gets for me!).
I usually print off a test sheet in black and white first in order to not waste ink. The last time I attempted this it was a mess, as I didn't realize I was missing a crucial step.
These are my sample sheets, along with a clear acrylic sealer. Without this step, your decals will disintegrate!
Here are the steps I followed.
1. Select and edit images
2. Run B&W test sheet on plain paper
3. If satisfied, print sheet in full colour on glossy side of decal paper.
4. Carefully put the sheet aside to dry for 20 minutes- This is crucial as the ink can run and will smear
if touched. I always make sure to handle from the corner of the sheet.
5. Once dry spray a light (or two very light coatings) of sealer. I used Mod Podge which is widely available from most craft shops.
6. Let the sheets dry for half an hour.
7. Cut out your decal and soak in water for thirty seconds or so, it will now slide off onto your chosen object.
One thing I will mention, is to bear in mind that these are transparent decals. If you want them to look the same as they do on the sheet, you will need to ensure the paint underneath matches.
I cut a couple circles out and sprayed them white before sliding the decal on.
I apologize for the final photo which is lacking in clarity, however it should give you an idea of results. When the real tank arrives I can do a cleaner job and spend a bit more time and care on paint.
Until Next time...
Friday, August 14, 2020
Rolling!
Thursday, August 13, 2020
Lockdown build Progress...
A quick update!
With the front end sorted out, I was able get a few other things started.
I swapped out the old Dunlop trials for the Pirelli which looks miles better.
In this shot, the DIY seat pan is also on display. This was made from an old metal shelf donated by my friend Chris.
I still need to mount lugs, cut foam and make a cover. I am happy to say that the shape is right and the mock up looks very good!
Until Next time!
Tuesday, August 4, 2020
Fork tragedy to Fork triumph!
Sometimes the jobs that appear to be most straightforward are the ones with the most complications.
The Ebay fork sliders were as described and I was very pleased to get them. An added bonus was that the seller threw in some internal spares which may be of use someday. I cleaned them up, gave them a quick coat of paint and started to put them together.
The drive side fork went together fairly well, although it had a slight notch when reaching and rebounding from full dampening.
(It should be noted that I am using some mismatched parts here; Unknown stanchions and bearings, etc. Any heartache involved would be entirely self prescribed!)
The timing side was an entirely different situation; The stanchion only slid about 2" from the top.
I tried the other stanchion, which did a little better at 3.5"
I did not take too many photos as I was deeply embroiled in solving the issue at hand. I will do my best to describe my work in case it can help someone else with the same problem.
I started by stripping the stanchion and placing it in the slider all the way. I then took some painters tape and wrapped it around the stanchion at the top of the slider. I now had a measurement to work from.
I was a little stumped as to how I would fix the inner part of the slider.
Sand it? Wire wheel attachment on a drill? Grinding paste?
I was then hit with some inspiration. I began searching online for a brake cylinder hone small enough to fit to fit the bore.
Luckily, Princess Auto had just the thing in stock for $11.99.
I started honing, with occasional addition of mineral oil to act as a cutting fluid. I would then insert the rebuilt stanchion and check my progress against the taped line. It was clear that I wasn't getting deep enough into the bore to do the job properly.
I fished around in my drill bit spares to find something to use as an extension; This was then fitted with some Permatex Steel Weld putty and left to cure.
This worked beautifully as I was able to get the full slider honed out to the right dimension. I put the piece in the vice horizontally and continued until I finally achieved my goal. With the 220 grit stones, this was a long process, one that I did over a couple days in intervals. I would not recommend using a more coarse grit as it may remove too much material. In that event the unit would be scrap.
The wonderful feeling of working forks turned to despair, when I realized I had (at some point) banged the top of the stanchion, taking it slightly out of round. The nut would no longer fit!
I started to make phone calls, to see if anyone of my contacts had a spare leg for me. No such luck.
I posted on the CVMG Facebook group and was contacted by a local machinist name Larry who offered to have a look at it. I did not need to be asked twice!
The next day I went over and he worked his magic on the lathe, re-cutting the thread and testing with the nut. We chatted about bikes and I admired his Commando built from parts with many handmade stainless steel pieces. He refused to take any money for the work and invited me to return should I need any more help. A true gentleman and a tremendous talent!
With the forks sorted, the project is now back on track.
Until next time....
Tuesday, July 21, 2020
Covid 19 project update and learning from my mistakes...
I had a couple of minor hiccups that have now been cured, mostly in the fork department. I don't have photos, however the originals were in horrendous condition. I could not get the cups off by any method available and had to do minor angle grinder surgery! Getting the fork tubes out was managed on one of the lowers, however I gave up on the second one. Luckily I found an appropriate set of lowers advertised as 'BSA Chopper forks' and won them for $30.00 USD on Ebay.
They arrived on Friday and I was able to clean them up and paint them by Sunday. I used some JB Weld epoxy to fill in some gouges and rough sections on the chrome.
I also decided to clean up the C11 mudguards with a wire wheel and cut off the bad/bent metal. By definition, this makes the bike a 'bob job' or 'bobber'. Being a seriously low budget build, I have to use what I have and buy as little as possible. Fortunately for me these C11 parts can be very nicely adapted to do the job!
![]() |
| The cut down front mudguard. I kept the remaining piece (just in case) |
![]() |
| a P/O made some indentations for the forks (they were awful) |
![]() |
| Front and Rear (rear is a 2-piece part) |
The big parts pile did come with a rear hub with an extremely worn down sprocket. These are not the bolt on variety and are riveted to the hub. The only way to rectify this problem is to have the hub machined and a new sprocket welded on. This tip was courtesy of the aforementioned Elder Statesman during my last visit. Down the road for sure, but big dollars I simply don't have right now. Cruising the CVMG classifieds, I saw a number of Triumph Trophy 250 parts for sale/free from a member in Toronto. I asked if he had a rear wheel , he did (sans brake plate and shoes) and was kind enough to send measurements. I brought my rear frame and it was a lovely fit. As it turns out, the wheel is actually from a BSA C15 or B40. It has a giant 4.0 x 19 Dunlop trials tire (Made in England) that has probably been on it for 50 years. He let me have it for the princely sum of $20.00 so I was extremely happy. We chatted and he showed me his lovely Trophy that was having some teething problems, sadly I had little to offer in the way of help. Thank you again Bruce for the lovely visit and the wheel!
I began looking for a brake plate and bought an incorrectly advertised one on Ebay. Fortunately it was only $19.00 and arrived in a few days. I was able to use a couple parts from it, so I decided to keep it. Another Britbike forum member came through with a nice plate for $15.00 plus shipping.
Needless to say this has been merciful to my budget thus far. Not having access to my US mailbox, I had forgotten how brutal shipping costs to Canada are. Hopefully things will return to normal soon.
Back to the wheel.
I mentioned the rather huge tire on the back. A while ago I was given a NOS Pirelli MT53 tire that can be used on front or rear. This tire is 3.5 x 19 and should work out a lot better. That being said, that rear wheel does look rather good and it was made for serious business! It is just too big for this bike.
This BSA has been an excellent exercise so far and has allowed me to hone my new approach to building. I am now organized and fit everything on before I start spending serious money. I clean up and paint some parts such as the frame, but that would have had to be done anyway. The Cub wheel incident was the last straw and a turning point in how I do things. I keep the garage as clean as possible now and put tools back when they are no longer in use. Sweeping at the end of the work day is now routine behavior.
If I can make what I have 'in stock' work, the time to find out is now, rather than assume it will work later. That has caused me expense and heartache in the past and often left me buying parts I will likely never use. When I bought the Matchless, I should have taken what I had and fitted it together from the start. Instead, I started sending things out for blasting and powder coating before really knowing what the plan was. As I look back on seven years worth of blog posts, I can see my pattern of failure. Buy a project, get completely entrenched in it, spend money, get overwhelmed, lose interest and sell for a slight loss or break even sum. While I have certainly made money here and there, that was never my goal.
Seeing is truly believing and hindsight is what it is. I can't change the past, but I can certainly change the future.
Until next Time.....
Wednesday, July 8, 2020
Ode to the BSA's I have owned (but never did anything with)...
With the BSA Covid project in full swing, I thought I would take a trip down memory lane and revisit my rather checkered relationship with the marque.
First a little history.
My interest in vintage motorcycles began in the late 1980's but I didn't get the fever until a few years later.
The early 1990's gifted me with two memorable dalliances at the same time. One with the lovely Mary Jane and the other with the equally enchanting Miranda, the 1967 MG Midget.
Both were all too brief but left a lasting impression on me. Being able to own and maintain a classic British car at the time wasn't feasible to say the least. While I did have an MGB a decade later, this may have been the path that truly led to bikes.
I started with the 'The World of Motorcycles' progressing to several magazines on the subject such as Classic Bike and The Old Bike Journal. I still have the very first issue of Classic Bike that I ever bought from the long gone Book Villa on King street in Hamilton. It was August of 1994 with a buyer's guide included.
Once the magazines were in my hand, there was no turning back. I had to have an old motorcycle and it had to be British.
Before the internet, bikes were a lot harder to find. The only real resource was a thick, three part monthly classified newspaper called the 'Tri-Ad'. The paper covered a fairly wide area and having no car at the time presented a multitude of challenges.
It was always exciting to flip through the vehicle section and see the listings. Excitement however more often led to disappointment as the bike would be gone by the time you called or received a return call.
I will gloss over the many bikes I missed out on and get to the first that I remember looking at.
It was a 1968 or '69 BSA 250 Starfire like the one pictured. The price was $600 dollars and it looked very clean and original. There was some sort of issue with the piston and I was assured it was an easy fix. I had the money (barely) and expressed interest. I don't recall telling the buyer that it was a done deal or leaving a deposit of any kind. Around this exact time one of the flatmates left, leaving my other flatmate and I short on utilities and rent. I respectfully called the seller back to say that unfortunately I would be unable to buy the bike. He did not take it well and proceeded to hurl a barrage of expletives at me. I responded in kind and hung up on him. This was the fall of 1995.
Fast forward to spring and I was on the hunt again. This time I had more money saved, problem was there were no bikes. I don't remember the how or the who involved but I was given a lead, a bike shop in Toronto called the Rocker Box. The owner Doug gave me the number of another friend who had several projects for sale. After admiring all his bikes, some of which I had only seen pictures of before I took the number and left. The young lady I was seeing at the time had a van and was more than happy to make the hour plus drive with me. I parted with $350.00 and came home with a 1964 BSA basket case B40.
![]() |
| Definitely not what I brought home! |
![]() |
| Not the exact bike, but pretty close. |
![]() |
| Rather unbelievably, someone cut the front end off to use on a trike! |
Last summer I paid a couple hundred dollars for a wrecked 1970 Starfire. When I got it, I realized very quickly it had been in a fire. I had a picture, though I have no idea what happened to it. This poor beast was shuffled on a scant month or so later for the amount that I paid for it. "That is the end of BSA's and the end of impulse buys for me!" I foolishly stated.
Never say Never.
Until next time!
Tuesday, June 2, 2020
Starting Point....
Here are some pictures of what I am starting with for the Covid build;
Thursday, May 28, 2020
Unveiling the Covid 19 lock down build!
Let's review the clues:
Friday, June 14, 2013
The Last time I saw Paris..........
Yes, I just returned from the annual CVMG rally in Paris Ontario. My father and I always go on the first afternoon and leave the Saturday and Sunday to the masses. It's easier to talk to the owners of the bikes and also the best time to snap up the first round of goods before they hit the ground. In my case, I scored a box of Bridgestone parts for the princely sum of $20.00!
This contained much of what I was missing, including the headlight, proper handlebars and much more. I haven't gone through it all yet. I also picked up another tank for $20.00 for the Sport 90.
Not much in the way of Triumph and Norton parts that we needed, though Dad got a good deal on some fresh pipes and bars for his '66 Trophy.
I should mention that while I have been focusing on forgotten two strokes lately, Triumph is my brand. It is emblazoned on my soul and to me defines the heart of motorcycling. As time wears on, this is something that will become abundantly clear! The truth is I love British motorcycles, BSA, Norton, Royal Enfield, Matchless etc. They have always spoken to me and fascinated me from a young age. Long before the internet and chain operated book stores, I would walk downtown to Book Villa (long since gone) and pay ridiculous money for an issue of Classic Bike. They were pretty much the same price then as now, nearly $10.00 an issue. I poured over the road tests, ads, articles and I kept every issue to this day. It's a pleasure for me to see so many of these machines in person, every year there is something new and exciting!
I will warn you, this post is picture heavy for those of you who couldn't make it there today.
![]() |
| Every truck in the parking lot had a Honda for sale in the back. This one looked very fresh indeed! |
![]() |
| A Lovely Royal Enfield with an Indian badged engine. |
![]() |
| PARTS!! |
![]() |
| This BSA was very complete and will make an amazing project for someone, $800.00 with a blown motor is still a great buy. I just hope it is kept original and not cut up. |
![]() |
| My little Bridgestone haul |
![]() |
| Racing. anyone? |
![]() |
| Close up of the Norton Race bike. It looked TT ready! |
![]() |
| Captain America has found a new hobby..... |
![]() |
| A nicely preserved Bonneville. |
![]() |
| Psychedelia! |
![]() |
| A pair of TRW's |
![]() |
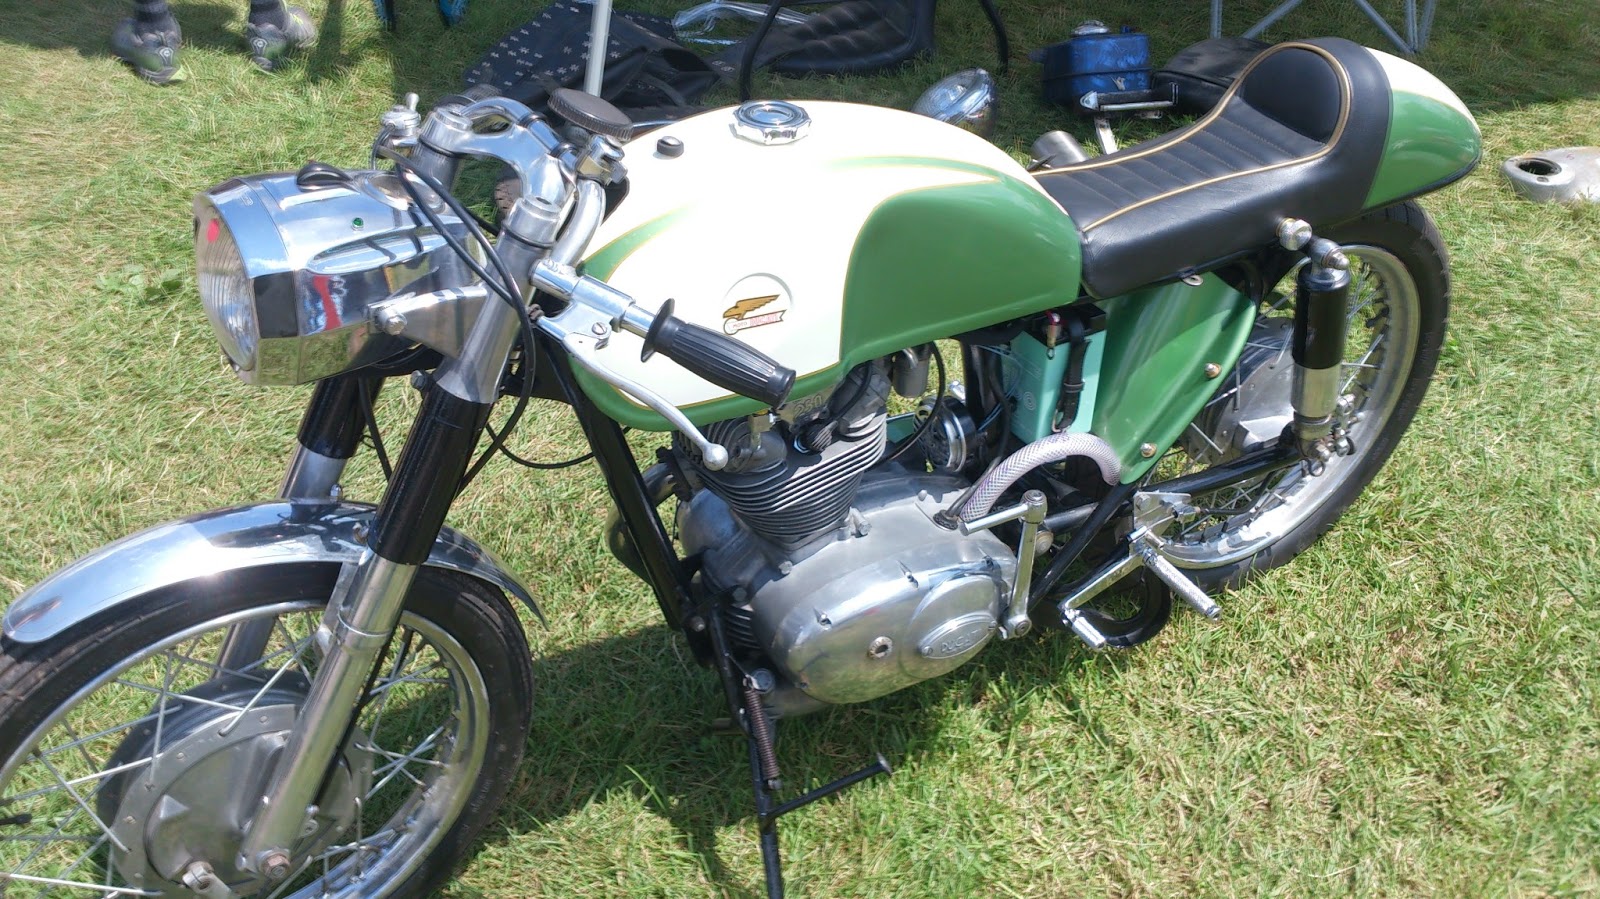
| My Friend Clayton was there with his stunning Ducati Cafe Racer. At $4,000.00 I think it will find a new home rather quickly! |
![]() |
| A mint Nimbus with sidecar. |
![]() |
| The Rolls Royce of motorcycles: Brough Superior. |
![]() |
| A nicely turned out James Captain. |
![]() |
| This Atlas truly turned heads.. |
![]() |
| This Indian was actually built in Toronto. The company briefly had a plant on Mercer street which was just torn down. |
![]() |
| Moto Guzzi enjoying a bit of shade. |
![]() |
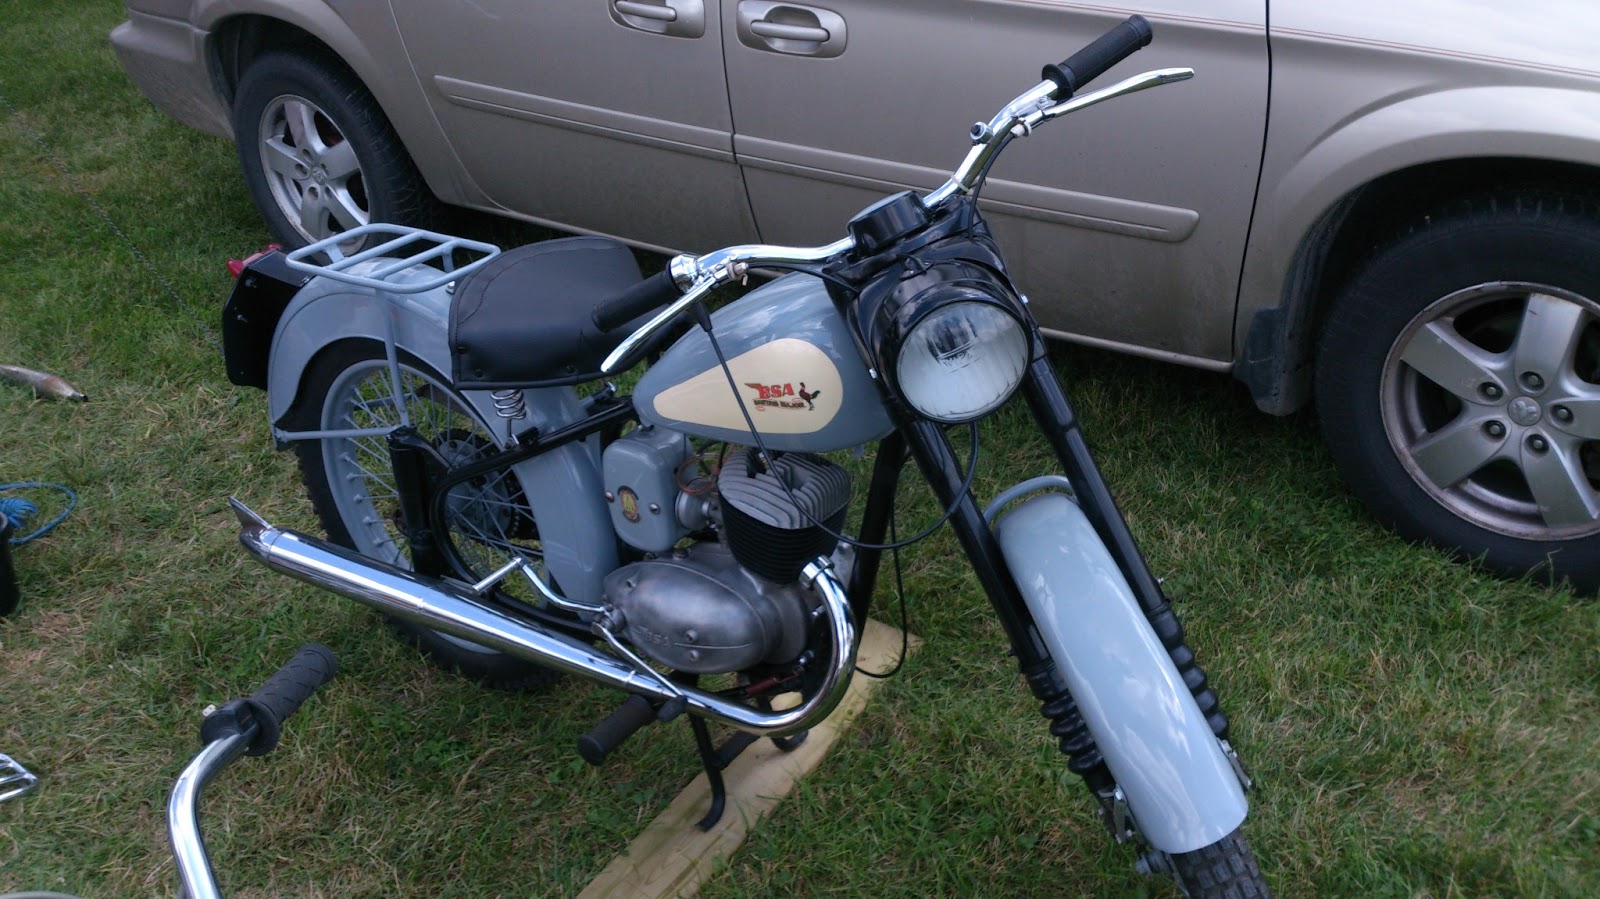
| My Dad was very pleased to see this humble BSA Bantam. |
![]() |
| This little Excelsior was tucked in the corner, very neat! |
![]() |
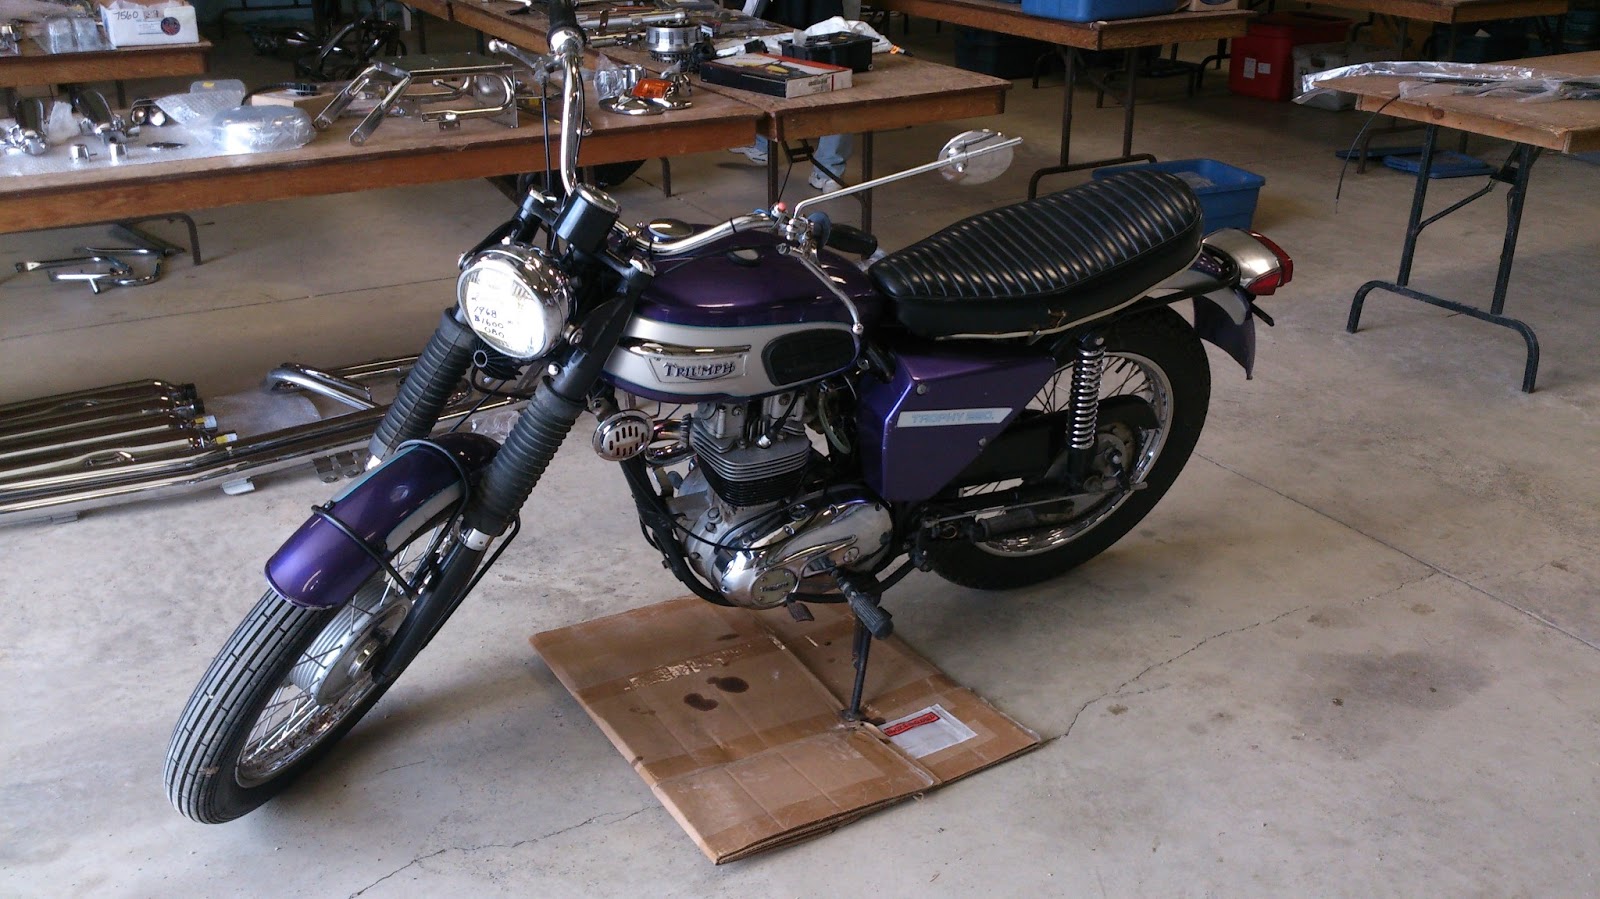
| This little 250 Trophy was resplendent in 60's paint. A winning buy for someone at $1600 .00 |
![]() |
| A lovely and unmolested original Ducati Monza Junior. |
![]() |
| The Fonz goes Racing! |
![]() |
| This little Scrambler would benefit from a mild restore, frankly I would ride it as is! |